DNS Monitors continuously check your domain’s DNS records to ensure they resolve correctly and haven’t been modified unexpectedly. This feature helps you detect DNS misconfigurations, unauthorized changes, or propagation issues across global resolvers.
Step 1: Navigate to DNS Monitors #
From the left sidebar, open DNS Monitors. Here, you’ll see all domains currently being tracked and their DNS status.
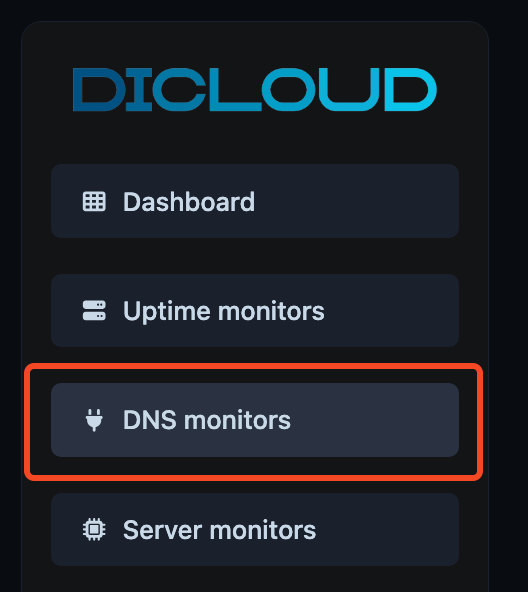
To set up a new one, click Create DNS Monitor in the top-right corner.

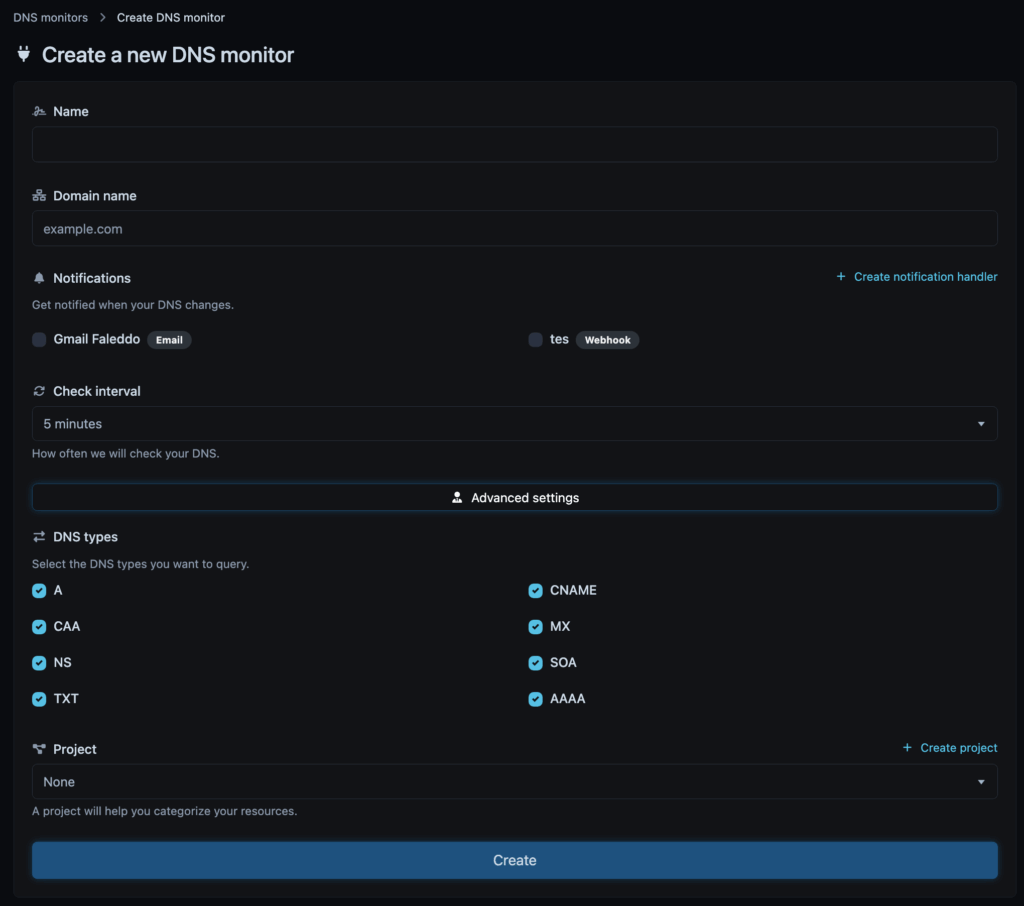
Step 2: Create a New DNS Monitor #
After clicking Create DNS Monitor, complete the setup form as follows:
- Name: Enter a descriptive name for your DNS monitor (e.g., Main Website DNS or API Endpoint DNS).
- Domain Name: Specify the domain you want to monitor (for example,
example.com). - Notifications: Choose how you’ll be notified if a DNS record changes.
- Enable Email or Webhook alerts.
- To add a new channel, click Create notification handler.
- Check Interval: Set how frequently SweetUptime should query the DNS records (default: every 5 minutes).
- Advanced Settings (optional): Configure the DNS types or Project Group.
- DNS Types: Select which DNS record types you want to monitor:
- A: IPv4 address records
- AAAA: IPv6 address records
- CNAME: Canonical name aliases
- MX: Mail exchange records
- NS: Name server records
- SOA: Start of Authority records
- TXT: Text-based records (e.g., SPF, DKIM, verification)
- CAA: Certification Authority Authorization records
- Project (optional): Assign this DNS monitor to a project to group it with related resources.
Step 3: Save and Monitor #
Once the form is complete, click Create. SweetUptime will begin checking your DNS records automatically.
If any record changes such as an IP update, MX modification, or unexpected TXT entry, you’ll receive an immediate alert via your configured notification method.
